Set Up Intex Simple Spa Hot Tub
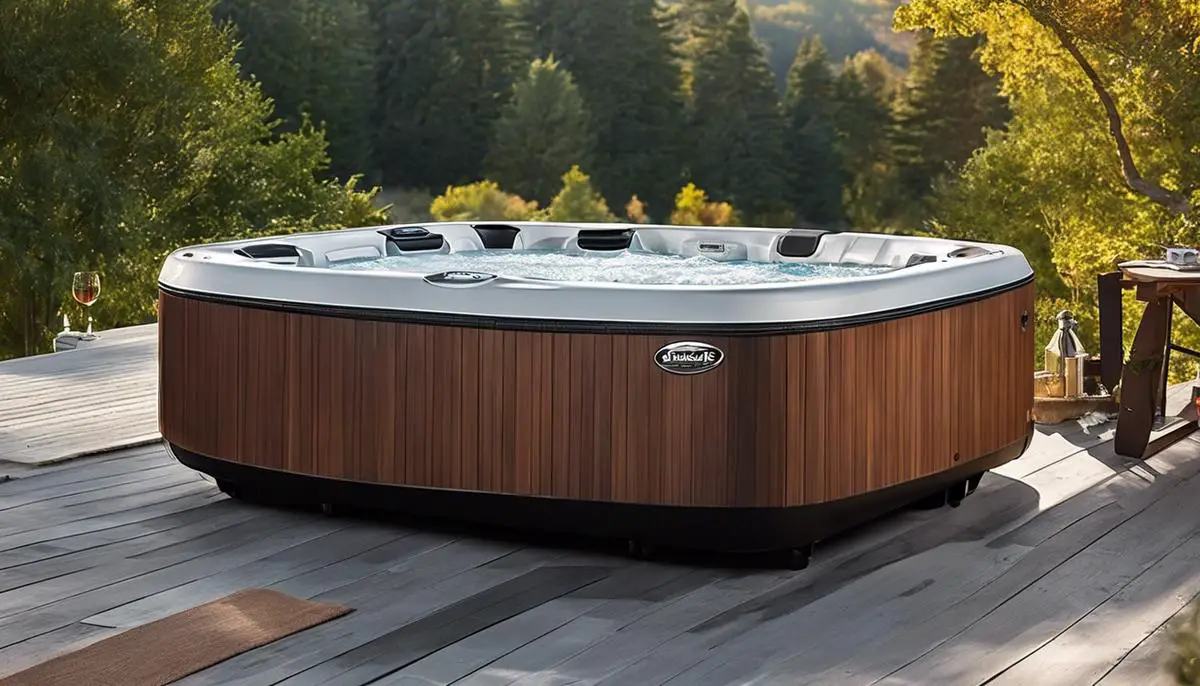
Immersing oneself in the soothing waters of a hot tub can transform your backyard into a personal oasis of relaxation and comfort. The Intex 28481E Simple Spa Hot Tub is designed to provide this luxurious experience right at home, offering both convenience and high-quality features. Before indulging in the calming effect of the spa, setting it up correctly is paramount. This process involves selecting the ideal location, careful assembly, and initial water treatment to ensure your hot tub experience is nothing but blissful. With a step-by-step guide, you’ll be prepared to flawlessly execute the setup of your Intex Simple Spa and dive into a world of tranquility.
Location Selection
The Ideal Spot for Your Intex 28481E Simple Spa: Safety and Functionality
Hot tub enthusiasts, rejoice! You’ve finally got your hands on the much-coveted Intex 28481E Simple Spa Hot Tub, and now you’re just a few steps away from countless hours of relaxation and fun. But, before you can dip your toes into those soothing, bubbly waters, it’s crucial to choose the perfect spot for your new aquatic retreat. Safety and functionality should be at the forefront of your thoughts. Here are some key insights on where to place your Intex Simple Spa for an optimal spa experience.
First up, let’s talk stability and support. Your hot tub, filled with water and bathers, will weigh a significant amount. This means you must choose a location with a solid and level foundation. Think concrete pads, reinforced decks, or any compacted and level ground which can sustain the weight without shifting or sinking.
Clearance is another factor not to skip. The hot tub requires adequate space – envision at least 2 feet of clearance around the spa’s perimeter. This isn’t just to give bathers room to move; it’s essential for accessing the spa for maintenance and ensuring the cover can be easily removed and replaced.
Think shade and sunlight – your hot tub placement should offer protection from excessive sun exposure, which could lead to premature wear of the spa cover and excessive algae growth. However, a bit of sunlight can be good, warming the spa naturally and making it an inviting spot in cooler weather. Striking the right balance can optimize your energy consumption and preserve the hot tub’s components.
Don’t dismiss the importance of privacy. If the thought of soaking in view of neighbors doesn’t appeal to you, consider placing your spa in a location that’s naturally secluded or can be easily screened with landscaping, fencing, or privacy panels.
Accessibility is another key consideration. Placing the hot tub too far from your backdoor may discourage use, especially in colder climates. A nearby location also means quicker, safer access when the weather turns less favorable.
Energy efficiency matters. To keep the power cord from being overstretched or having to rely on extension cords, which is a safety hazard, the hot tub should be near a suitable electrical outlet. Not just any outlet will do; ensure it meets the hot tub manufacturer’s recommended specifications.
Consider the noise. The hot tub’s pump and heater can generate sound, so if possible, place it away from windows and sleeping areas to prevent any disturbance.
Last, but not least, think about the water source and drainage. Placing the hot tub near a garden hose simplifies filling and refilling, while ensuring there is a convenient place for water to drain will keep your garden from turning into a swamp during water changes.
Safety, stability, and convenience are the pillars of excellent hot tub placement. With these tips in mind, you’re set to select the smartest spot for your Intex 28481E Simple Spa. Here’s to tranquil, trouble-free soaking sessions in the perfect location!
Assembling the Spa
Your Guide to Assembling the Intex 28481E Simple Spa Hot Tub: Expert Tips for Perfect Relaxation
Are you ready to dip into the tranquility of your very own backyard oasis? The Intex 28481E Simple Spa Hot Tub beckons! But before you start dreaming about those soothing bubbles, you’ll want to know how to get it all set up. No sweat! Here’s a streamlined guide just for you, fellow hot tub enthusiasts, to get your spa bubbly and ready in no time!
- Unpack with Care
Before you dive into assembly, locate a level spot where you’ve considered stability and other factors previously discussed. Then, unpack your Simple Spa components gently to avoid any accidental damage and make sure all parts are accounted for. Better to sort it all out upfront than to pause mid-installation because you’re missing something crucial!
- Inflation Station
The Intex 28481E boasts an easy-to-use inflation feature. Begin by connecting the inflation hose to the spa’s inflation valve. Then, attach it to your pump, hit the button, and watch as your spa comes to life! Keep an eye on the inflation level – you want it firm but not overly tight. Once filled with air, disconnect the hose and securely fasten the inflation valve cap.
- Set Up the Control Hub
Next up, the control unit, the spa’s command center, if you will. Place the unit close enough for the hoses to connect without tension yet in a spot where you can easily access it for temperature and bubble controls. Hook up the hoses from the control unit to their respective connections on the tub, ensuring they’re snug to prevent any leaks.
- Lay Down the Insulated Ground Cloth
An often-overlooked step is laying the insulated ground cloth beneath your spa. It adds a defense layer against heat loss, which equals more energy efficiency for you! Position the cloth, then place the inflated tub on top, double-checking your clearance and other setup considerations.
- Fill ‘er Up!
With your tub in position, it’s time to fill it with water. Connect your garden hose to a nearby water source and fill the spa to the indicated level. Avoid overfilling, as water displacement will occur once you and your fellow hot tubbers hop in.
- Heating Things Up
Once full, kickstart the heater using the control unit. The guideline here is patience; heating might take a while depending on your starting water temperature. Plan ahead, so the water reaches your desired temperature right when you’re ready to take the plunge.
- Install the Filter Cartridge
Clear water is critical for full enjoyment and safety. Locate your filter cartridge and place it inside the designated housing in the tub. This unsung hero will keep your water clean and clear, so routine checks and changes are a must.
- Enjoy the Bubbles
Now for the grand finale – the bubbles! Once the water is nice and hot, activate the bubble jets for that quintessential spa indulgence. Your Intex 28481E Simple Spa is not merely a hot tub, it’s a relaxation haven.
By following these straightforward steps, assembly should be a breeze, leaving you more time to lounge, relax and float your cares away. So go ahead, give yourself a pat on the back and savor the blissful spa experience at your fingertips. Happy soaking!

Initial Water Treatment
So, you’ve got your Intex Simple Spa Hot Tub all set up, and it’s staring back at you like a silent, empty canvas waiting to be transformed into a bubbling sanctuary.
Well, gather ’round, fellow spa aficionados, as we dive into the nitty-gritty of properly filling and chemically balancing that backyard oasis.
First thing’s first – before we even think about chemicals, let’s talk water. Get the water flowing smoothly into your hot tub, filling it up to the recommended level. Be careful not to overfill it; stick to the max line indication to prevent any overflow once you hop in.
Now, patience – let the spa reach its ideal temperature. While you may be tempted to jump right in, remember that a good foundation ensures the best experience.
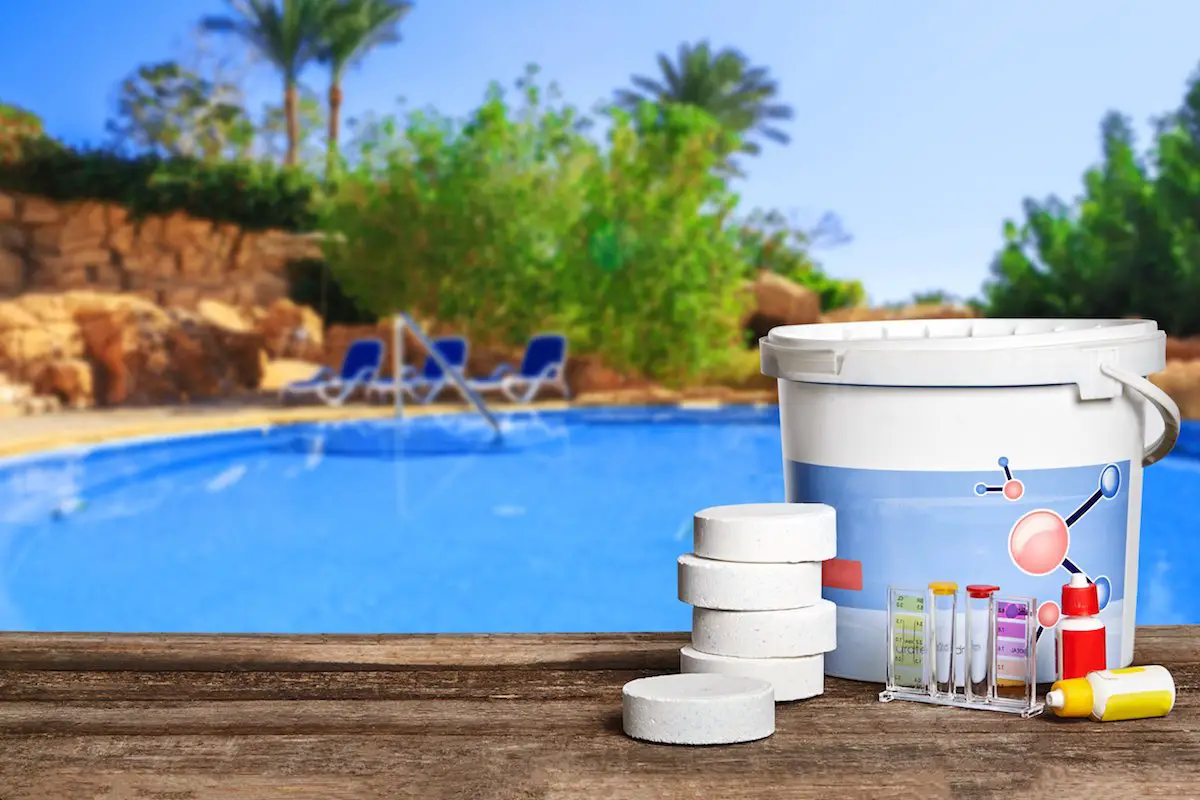
With the water ready, it’s time to roll up those sleeves. A hot tub is only as good as its water quality, and that’s where chemicals come into play. The goal here is to balance the pH, alkalinity, and sanitizer levels to keep the water crystal clear and hygienic.
First up, test the water with test strips. Take note of the pH and alkalinity readings. Ideally, you want a pH level hovering between 7.4 and 7.6 and alkalinity in the ballpark of 100 to 150 ppm (parts per million).
If the pH is high, use pH decreaser; if it’s low, reach for the pH increaser. And remember, precision is key – it’s all about adding these chemicals slowly, then retesting until the pH is a portrait of perfection.
Next, it’s time to give alkalinity the attention it deserves. High alkalinity can be tamed with a bit of pH decreaser, while low alkalinity can be gently nudged up with an alkalinity increaser. Who knew chemistry could be so therapeutic?
Alright – now the spotlight turns to the sanitizer. Chlorine or bromine, the choice is yours, but make it wisely. Chlorine keeps things clean, but bromine is a champ in the balmy waters of a hot tub. Add your chosen sanitizer according to the instructions on the packet, aiming for a level that’s typically between 1-3 ppm for chlorine or 3-5 ppm for bromine.
Once you’ve added the chemicals, let the hot tub work its magic with the pump running, allowing the newly added ingredients to mix thoroughly. This isn’t instant – give it time, and test the water once again.
After these steps, keep the water at the peak of perfection with regular testing and tweaking. It’s a delicate balance, an art form of sorts, ensuring every soak is as splendid as the last.
There you have it, the roadmap to pristine Intex Simple Spa Hot Tub water. May your soaks be many, may your water be balanced, and may you never underestimate the power of a well-maintained hot tub!
With the spa now poised for your enjoyment, it marks the beginning of countless serene and rejuvenating moments. By meticulously following each step from selecting the perfect spot to the proper maintenance of water quality, you have laid the foundation for a safe and delightful spa experience. Always refer to the manufacturer’s guidelines for any specific questions or concerns to maintain the pristine condition of your Intex 28481E Simple Spa. May your new hot tub serve as a sanctuary for relaxation, bringing warmth and joy to your everyday life.

