As cooler temperatures herald the arrival of winter, pool owners face the annual task of preparing their backyard oases for hibernation. Properly winterizing your pool is crucial to maintain its integrity and ensure a sparkling clean start come spring. The process extends beyond merely placing a cover over your watery playground; it’s about safeguarding the entire system—which includes the water chemistry, physical infrastructure, and accessories—from the harsh elements of the off-season. This winter pool closing guide aims to equip you with the knowledge and confidence to secure your pool against winter’s chill, walking you through the essential steps from balancing water chemistry to the final act of covering your pool.
Balancing Water Chemistry
The Simple Guide to Balancing Your Pool’s Water Chemistry Before Winter Hibernation
As the crisp autumn leaves begin their tango to the ground, it’s a gentle nudge to all of us that winter is just around the corner. For those with a backyard oasis, it means it’s time to get our pools tucked in for the cold months ahead. Ensuring a pool’s water chemistry is balanced before closing is crucial – it means avoiding a whole heap of trouble come spring. Whether it’s your first time winterizing or you’re a seasoned pro, here are the no-fuss steps to balance your pool’s water chemistry.
Firstly, let’s talk timing. Aim to start balancing your pool’s water chemistry about a week before you plan to close it down. This gives the chemicals time to circulate and do their job properly.
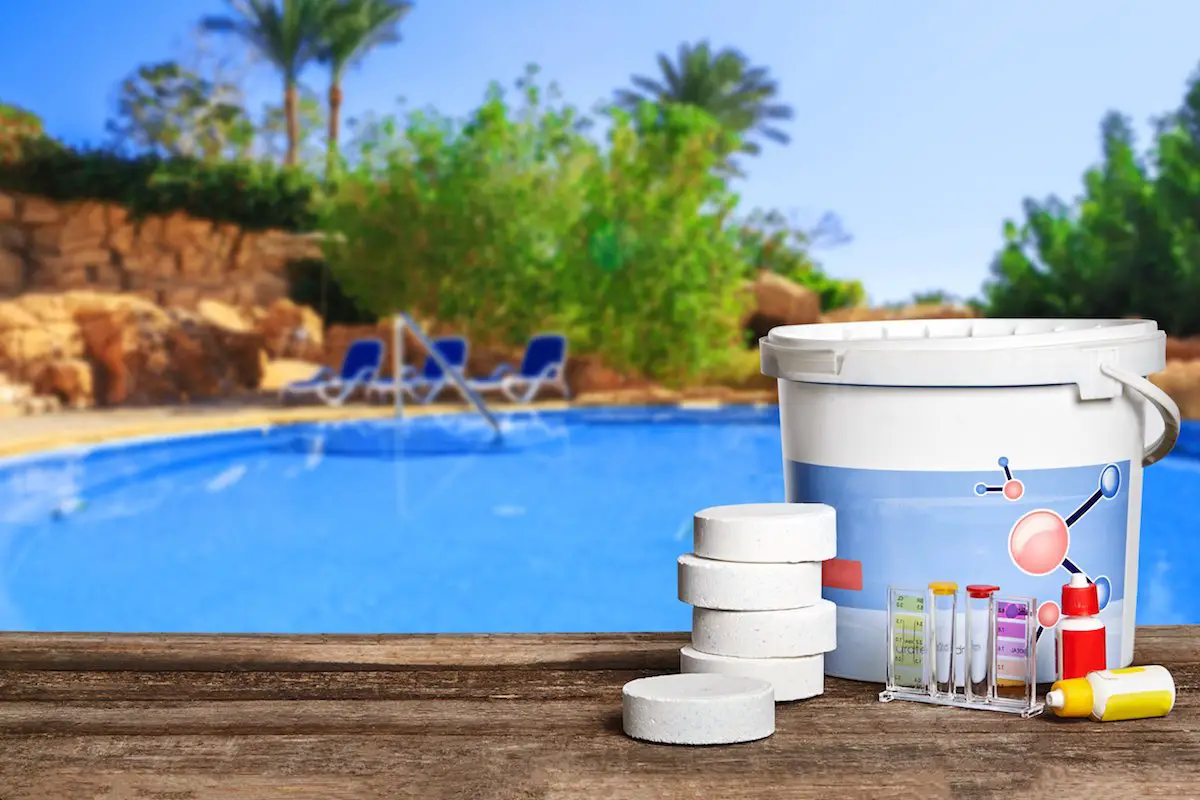
- Test the Waters – No need to dive in for this step, folks! Begin by testing your pool’s pH, alkalinity, and calcium hardness. These levels are basic indicators of water balance. Your pH should land between 7.4 to 7.6, alkalinity between 100 to 150 parts per million (ppm), and calcium hardness between 175 to 225 ppm. Use a reliable testing kit and if you’re unsure, take a water sample to your local pool supplier.
- Adjust the Chemistry – If your levels are a bit out of whack, don’t fret. Simply add the appropriate chemicals to bring them into the desired ranges. If your pH is a little low, a pH increaser is needed, and if it’s high, a pH decreaser is your friend. For alkalinity, use an alkalinity increaser, and to adjust calcium hardness, add a calcium hardness increaser. Just follow the instructions on the chemicals for the correct amounts based on your pool size.
- Shocking News – About 2-3 days before closing the pool, give it a good shock. This means superchlorinating the water to kill any lingering bacteria and algae. Choose a shock product made for your pool type and use it according to the package directions.
- Let It Circulate – After adding any chemicals, keep your pool’s pump and filter running for at least a full 24 hours. This helps to distribute the chemicals evenly throughout the water.
- Algaecide for the Winter – Just before you cover your pool, add a quality algaecide. Look for one that’s specifically designed for long-term use, like a winter algaecide, and follow the product directions for your pool’s volume. This will keep that pesky algae at bay during the winter months.
- Lower the Water Level (Just a Tad) – Do not empty your pool – this can cause serious structural damage. Instead, lower the water level below the skimmer to prevent water from getting into the filtration system and potentially freezing.
Closing a pool is almost like sending kids to bed: it’s all about the bedtime routine. Balance your water, add the right chemicals, and protect against uninvited algae guests. With these straightforward steps, rest assured, that your pool will wake up from its winter nap in tip-top shape, ready for another season of splashing fun.

Cleaning and Removing Accessories
Hey there, fellow parenting aficionados and homemaking heroes! Today, we’re diving into the nitty-gritty of prepping our beloved backyard oasis for the chilly embrace of winter. It’s time to dive deeper into this pool closing guide. So, let’s roll up those sleeves and ensure our pools are as snug as a bug in a rug when the cold weather hits.
After you’ve balanced those chemicals and shocked your pool into cleanliness, it’s crucial to protect it from potential freezing damage. Now, how do we do that? Let’s walk through the steps to ensure that the pool is ready for its winter nap!
Firstly, take care of and inspect all your pool equipment. This includes giving the filter a good cleaning. Whether you have a sand, cartridge, or diatomaceous earth filter, give it the attention it deserves. Backwash or clean it out according to the manufacturer’s guidelines to remove any lingering contaminants.
Now, let’s tackle those pool pipes and the pumping system. Any water left in there could freeze, expand, and you guessed it, cause some serious headaches come spring. You’ll need to blow out the water using a shop vac or an air compressor. Hook it up to each line, one at a time, and blow that water right out of there until you only see air bubbles in the pool. Then, plug the lines to keep the water from sneaking back in. This is also the perfect time to drain the water from the pump, heater, and filter.
Next up, remove all the accessories that jazz up your pool. Ladders, ropes, toys, and those fun floaties need to be cleaned, dried, and stored away. Leaving them out can cause damage not just to the accessories themselves, but they can also harm your pool’s lining if left unchecked throughout the cold winter months.
With everything winterizing nicely, it’s the cover time! A quality pool cover is a must to keep out those uninvited leafy guests and debris. But hey, make sure you don’t just toss it on. Secure it properly to fend off wind, rain, or snow. If you have an above-ground pool, the winter cover should be supported with an air pillow to ease the pressure of snow accumulation. In-ground pools will need water bags or other weights to anchor the cover’s edges.
Finally, throughout the winter, don’t just forget about your pool. Give that cover a check now and then, brush off the snow, and remove any water pooling on top with a pump. Keep an eye out for cover damage or unexpected leaks in the pool – catching these early can save you time and money when the season turns again.
And just like that, your pool is tucked in and ready for its winter respite. By following these steps, you’ll be in a prime position come spring to dive back into pool ownership with a splash and without worry. Until then, here’s to sipping hot cocoa and planning for those sunny days ahead!
Covering the Pool
As the chill of winter whispers its approach, and a cozy huddle indoors becomes the norm, there’s one more task in our winter pool closing guide that’s paramount for maintaining that serene backyard setting: covering the pool for winter. Doing this right not only safeguards the liquid oasis but sets the stage for a stress-free spring reopening.
Let’s dive into the best practices for snugly covering a pool, ensuring it braves the colder months with unwavering protection. Remember, a well-covered pool is a joyful unveiling when the sunshine beckons once again.
First up, pick the right armor – a durable, high-quality pool cover. With an array of options available, such as mesh and solid covers, choose one that stands up to the specific winter conditions in the area. Seek materials resilient to snow load, ice accumulation, and gusty winds. It’s like choosing the warmest, most reliable winter coat; it needs to hold up against whatever Jack Frost throws its way.
Installation is the next frontier. Secure the pool cover using water bags, cover clips, or cable and winch systems designed for above-ground pools. If equipped with a safety cover, ensure springs are properly adjusted to maintain adequate tension. No sagging or gaps should invite unwanted debris or water – think of it as buttoning up to keep the warmth in and the cold out.
And let’s not forget, that winter winds can be mischievous, so using cover weights such as bags or blocks (never bricks as they can damage the cover) will prevent the cover from turning into a winter sail. It should lie flat and taught, a silent guardian over the still water below.
Pool pillows are not just for a decorative touch; they serve to keep a solid ice sheet from forming by reducing the surface area and thus the tension on the pool walls. They’re plumped-up companions to center beneath the cover, especially for above-ground pools.
Throughout the winter months, a certain level of vigilance is a boon. Regularly inspecting the cover for pooling water or debris is key. An accumulation of either can pose risks not only to the cover but to the integrity of the pool. Utilizing a cover pump will help relieve the cover of excess water weight—think of it as winter weight management for the pool’s health.
Lastly, keep a keen eye on the surroundings. Falling branches or sharp objects can threaten the pool cover’s sanctity. A little trim of overhanging limbs before the cold sets in is akin to keeping the peace in the backyard realm.

Conclusion
Remember, the pool’s winter slumber is as vital as its summer fun. A well-covered pool rewards with immeasurable ease when the world thaws and the splash of poolside life beckons once more. By adhering to this simple winter pool closing guide, rest assured that the pool will awaken from its winter’s rest ready and waiting to embrace the joys of spring and summer. Keep the gratitude for this sanctuary at the forefront, and ensure it gets the off-season care it deserves. Here’s to a well-covered pool and the promise of tomorrow’s cannonballs!
Preparing your pool for the winter months is an investment in its longevity and your future enjoyment. By diligently balancing the water chemistry, cleaning the pool, removing accessories, and securing a robust cover, you can rest easy during the colder days knowing your pool is well-protected. When the warm whispers of spring beckon you back, you will be greeted by a pool that is ready and waiting to provide endless fun and relaxation. Remember, the care you put in now will pave the way for a seamless transition into the next season of sun-soaked memories by the water.


